This is for Genesis Versions 11.3 and older, the interface for 11.4 and newer will be different see this guide for the differences in interface.
This will install or update the SQL Server instance, the database, and the client(optional). The database can then be connected to by other workstations with Genesis installed on it.
1. Open the installation file that was downloaded
2. Click Next to the Welcome Screen.
3. Check the box to accept the terms of the License Agreement
4. Input your user(optional), organization(optional), customer number, and Serial Key
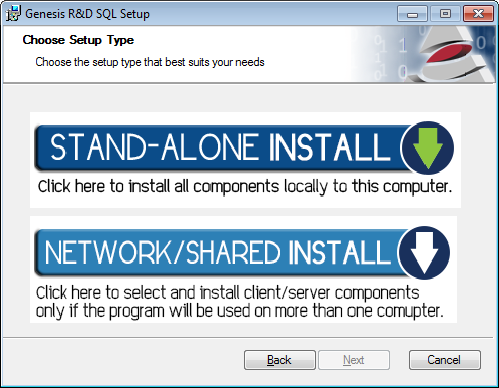
5. Choose 'Network/Shared Install'

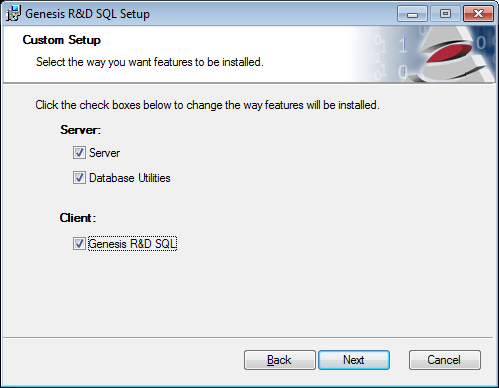
6. Under Server, check the boxes next to Server and Database Utilities.
Under Client, check the box next to Genesis R&D SQL(optional)

7. Choose a destination to install the program (default is recommended)
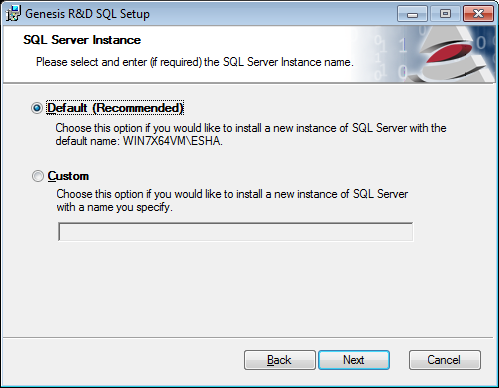
8. Choose your SQL Server Instance name (default is recommended)

9. Click Install
Upon completion of the installation, you will need to:
- Install the client on any workstations
- Grant Access to any Users who will need to use Genesis.
- Setup the Windows Firewall (if enabled).
- If using an App Server you may need to fix Application Server Activations
Comments