Genesis R&D Supplements is a "traditional" client/server application where the Genesis R&D Supplements client can connect to a shared database (server).
If you need to install two or more clients to connect to a single shared database, there is need to utilize another instance of SQL Server. This can be your own, existing instance (provided you have the proper permissions), or an Express instance of SQL Server (free).
Here is a link to install SQL 2016 Express SP2:
https://www.microsoft.com/en-us/download/details.aspx?id=56840
Choose the Custom install option so you are able to set a named instance, otherwise the SQL Express instance will default to servername\SQLExpress. We recommend the instance name be ESHA.
If you would like assistance with this process, you can use the Live Online Chat on this page.
Note: You will need to have rights in SQL Server to create a new database during this installation process.
Note: The database created during installation is an empty database. The database is constructed on the first running of the software, and the first person that runs it will be the designated "Administrator" of Genesis Supplements.
Note: If you do not have .NET 4.6.2 installed you may be required to restart your computer.
1. Run the downloaded installation file on the server to which you would like to host the database.
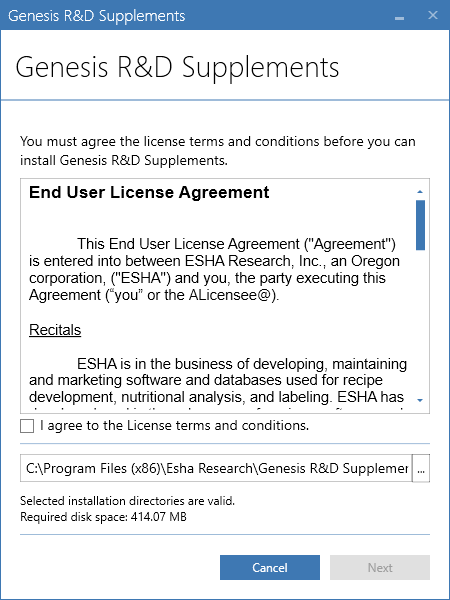
2. Agree to the License Terms and Conditions and click "Next".

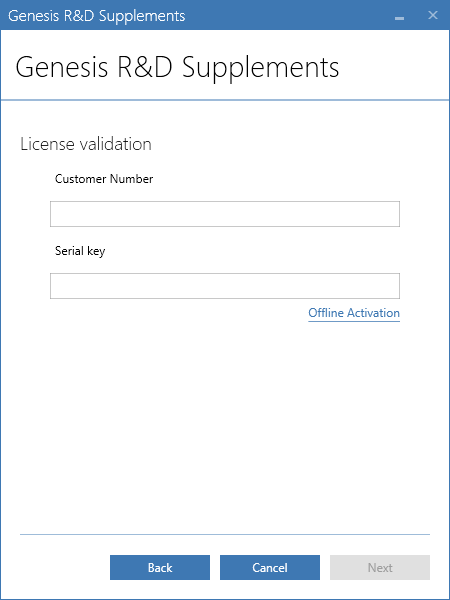
3. Enter in your Customer Number and Serial Code.

4. You will need to select the SQL Server instance you would like to use in the "Server Name" field and enter in a database name. The default database name is "Esha". Once you have selected the server name and database name, click "Create Database" to create a database on the desired SQL Server instance. Then click on "Test Connection" to confirm the database was created successfully.

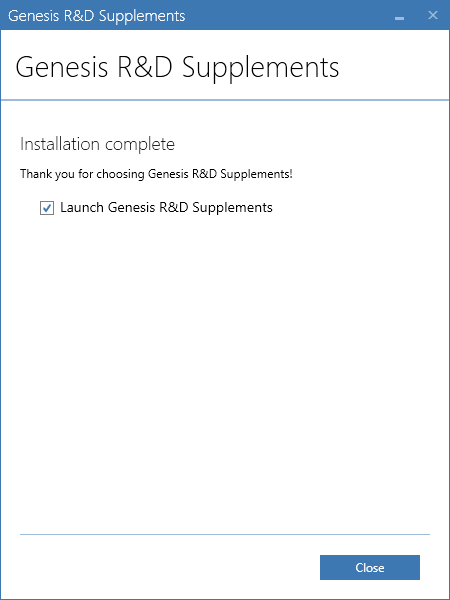
5. Installation complete.

6. Run Genesis Supplements one time to build the database fully and add the user as an administrator of Genesis Supplements.
7. If need, grant access to the database for other users of the Supplements application.
8. You are now able to install the Genesis Supplements client on any additional workstations.
Comments